
This is a new donut stand I built for Richard. He needed 2 of them to face opposite ways and display the donuts in a staggered arrangement.

I used regular sized donuts from Dunkin Donuts to figure out the peg height and spacing.
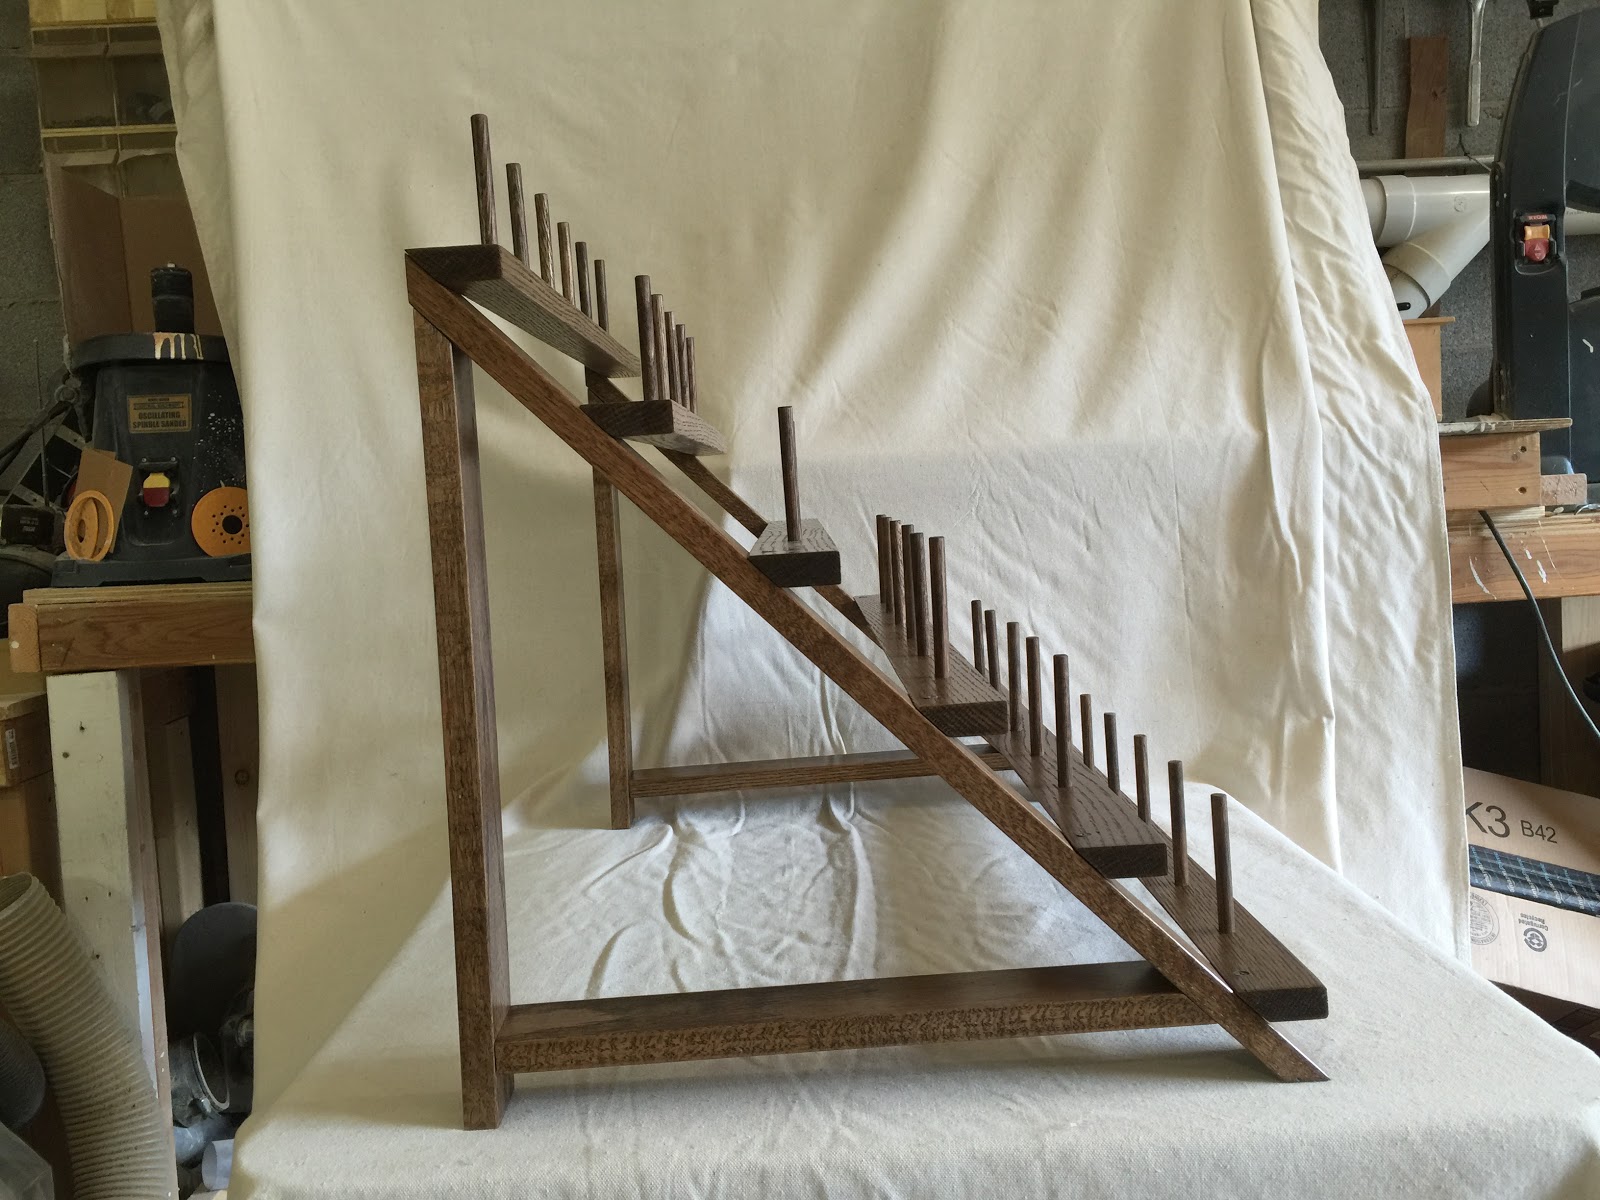 |
| Side View |

I shipped it unassembled with two uprights, 3 shelves with 6 pegs, and 3 shelves with 5 pegs. Screws for assembly were also included.

The back of the shelves are beveled and face towards the rear of the stand.

Start with the bottom shelf with 6 pegs. Note how the screw goes in vertically.

Put the screw through the hole in the shelf so it pokes out as shown. This makes it easier to align it with the hole in the upright.

Another view of me aligning the screw with the hole in the upright.

Once you have located the hole and have the point on the screw started into it, rotate the shelf to it's horizontal position as shown above. Turn the screw by hand or with a Phillips screwdriver gently until you are sure it's going into the hole properly.
VERY IMPORTANT!
Leave all the screws loose (leave the screw head sticking up about 1/8 of an inch) in each shelf until you have all of them started into their respective holes. You need to do this just in case the uprights need to be wiggled a little bit to line up some of the screws with the holes.
Alternate the shelves starting with the 6 peg, then a 5 peg, and so on all the way to the top.
After all the shelves are on, tighten the screws. Turn them just enough to make them snug. It's not necessary to crank down on them!
NOTE.
If you don't plan on taking it apart and want a permanent assembly, you can apply some wood glue to the area around the screw holes.