Assembly instructions for stands with clear spacers.

Find the base (it has felt dots on the bottom side) and the support rod. DO NOT take the nut and washer off the rod. They are where the are supposed to be.
The picture below shows the old way I did the first SPACER CENTERING DISC. It is now glued to the bottom tier. You will install the rod with the nut and washer on top of the centering disc now.

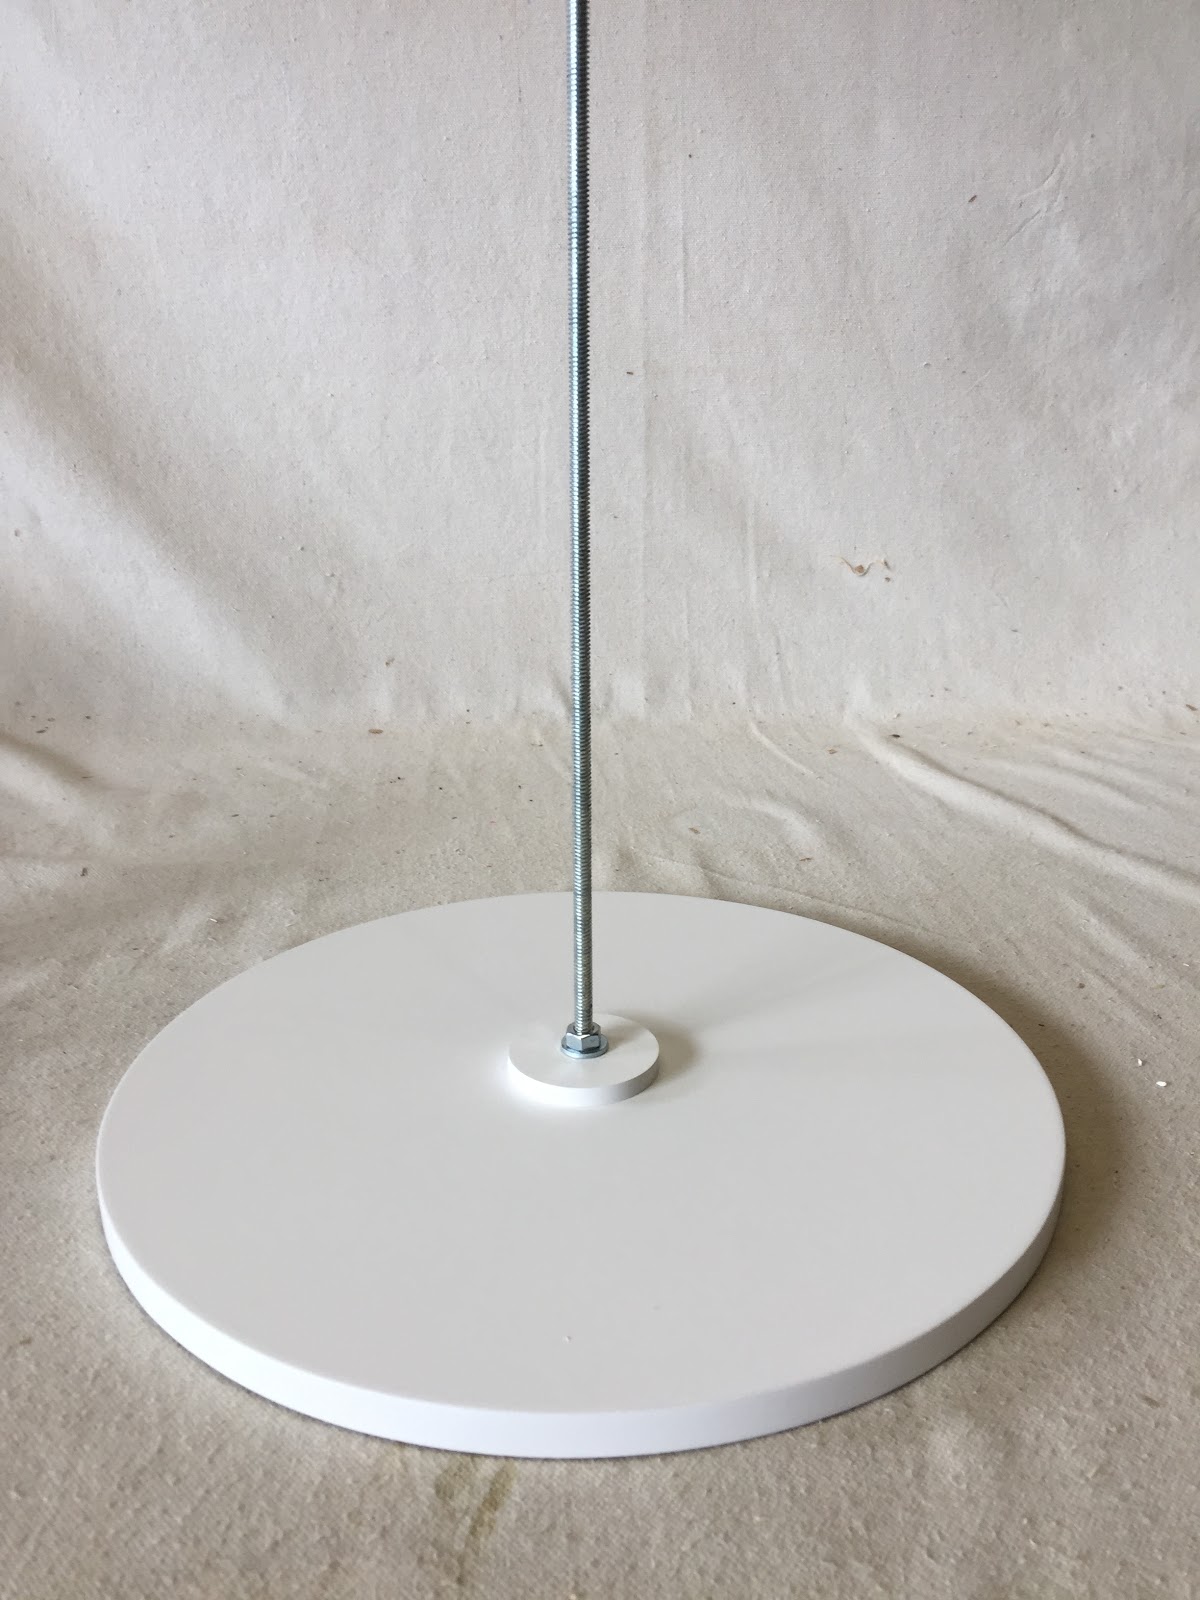
Thread the rod into the base until it is flush with the end of the pre installed t nut. Take care that it doesn't stick out too far or the end of the rod will scratch your table.
You can turn the nut that is on the rod a little bit one way or the other to get the rod in the right position.

Time to start stacking tiers.
Add the first spacer. It has a notch cut out for any wires if you are using lights. It can go upside down if you are using a battery pack that will be attached to the underside of the bottom tier. Either way will work.
You will want to start threading your light strands at this point.
The way I have done it is to pull the strand through one tier and spacer at a time. Pull through enough wire to "stuff" the spacers.

Grab the first tier you want to install.
They will have a centering disc already installed on their bottom sides. Slide the tier down the rod until the centering disc slips into the to of the spacer.
This is the under side view.


View from the top after you install the tier.

Now find one of the loose centering disc.

Slide it down the support rod and position it like this.

The centering disc are not attached permanently to the top s of the tiers for a reason.
Should you ever decide not to use lights, you can fill the tubes with just about anything that will fit inside them like jelly beans or M and M's for example.
You can turn the top centering disc like this to block the holes and keep your items from falling through. If you never plan on doing this, go ahead and glue them in place if you wish.
Continue with the stacking process until you get to the top tier piece.

The top piece as a whole is basically the "nut" that holds everything together.
This is where most people have issues.
In this photo, the t nut is silver. Yours is painted the same color as your stand, so don't think it's not there. It has happened. :)
Make sure that it is orientated as shown with the tnut facing the sky. I have had people install them upside down.
Screw the top onto the rod.
VERY IMPORTANT!
It is imperative that you don't tighten the top too much. If it is over tightened the forces exerted on the top can and will pull the t nut completely through the wood, ruining it.
A good way to tell is that if the rod extends past the top of the t nut, you have gone too far.
I cut the rods so that when it's correctly assembled, the end of it will be flush or slightly below the top of the tnut.
One final note.
If you have any difficulties, STOP! Call me or email me before you try to "figure" it out. Whatever it is I can help you in just a couple of minutes. It'll save you some aggravation, and possible damage to your stand.
No comments:
Post a Comment