This is Amy's 6 tier cupcake stand. The first and second tiers have removable boxes for covering with fabric or ribbon.

These are all the parts layed out.

Find the base piece.

***This is the most critical point in the assembly***
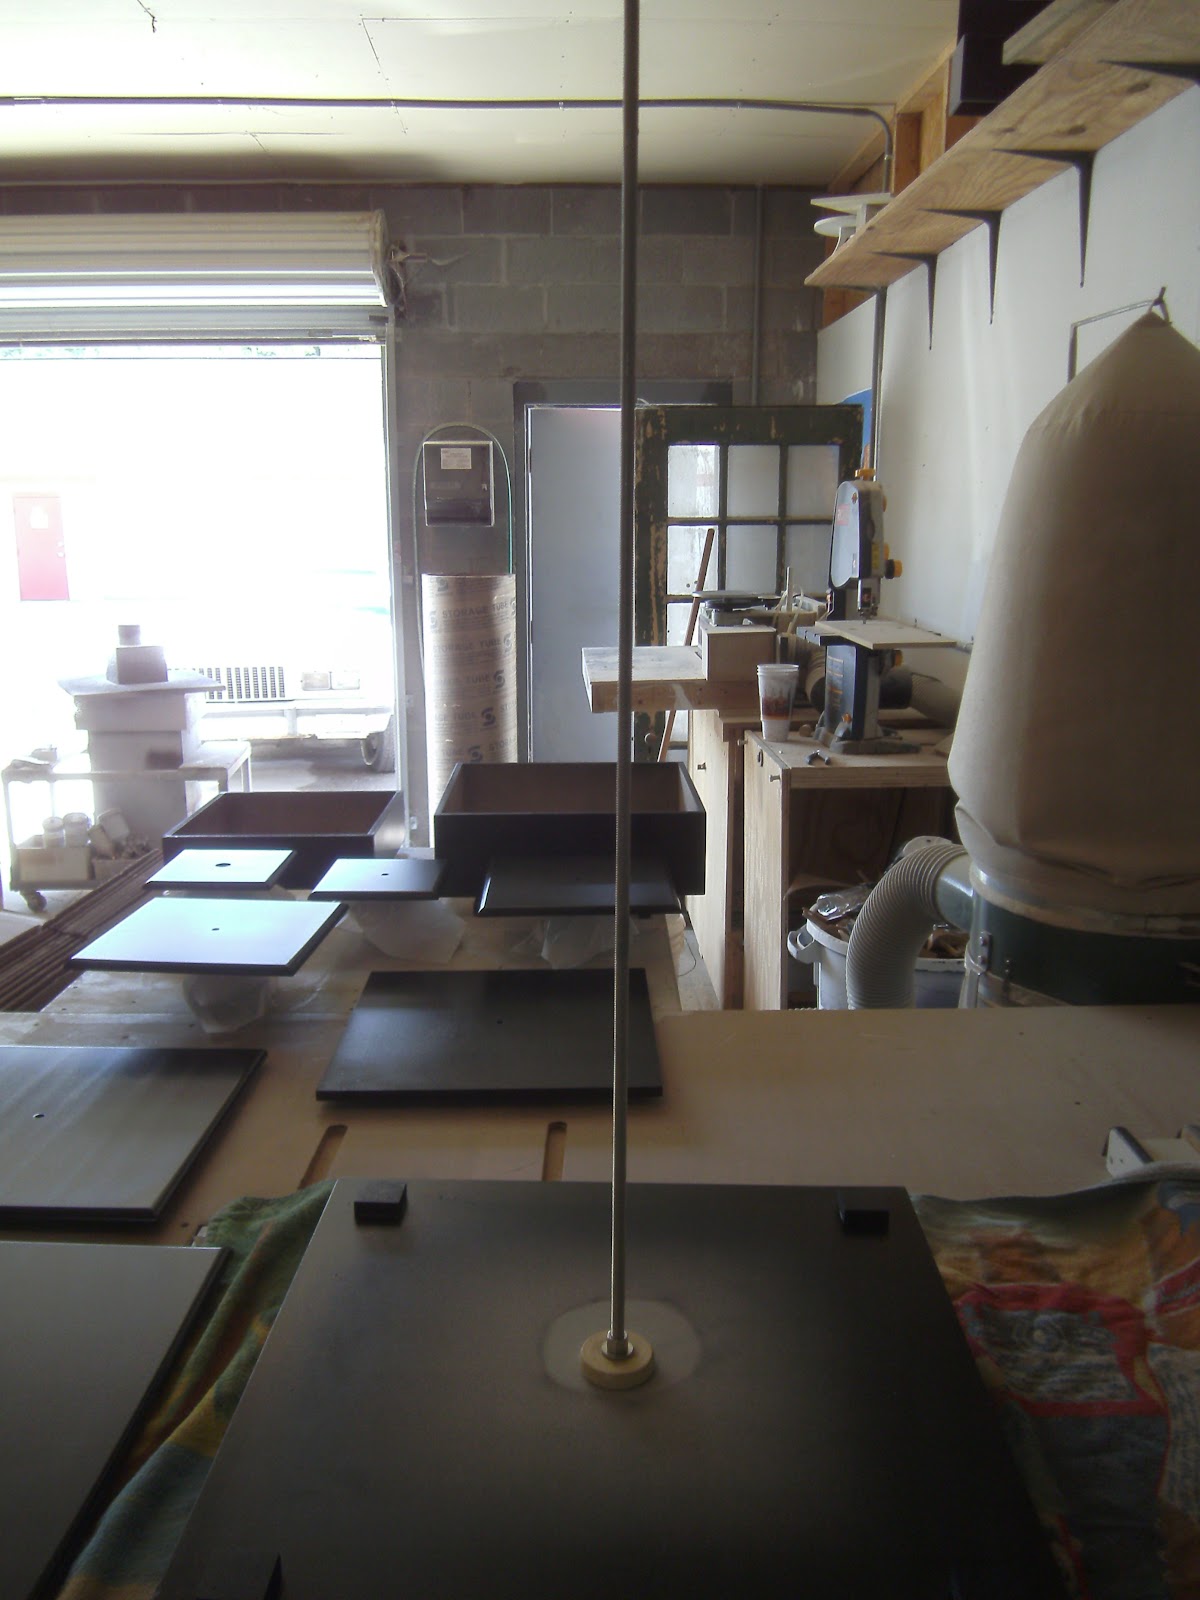
This is the center support rod. If there are 2 wood pieces on the rod, remove one of them for later. To start assembling, the rod should look just like the picture. Don't remove the nut, washer or wood centering ring. Screw the rod into the base. See next picture.

Look under the base. The rod you just screwed in should be flush with the bottom of the tnut. It should not protrude any more then just a tiny bit. If it comes up short, loosen the nut from the top, or vice versa if it protrudes too much. If you happen to push the tnut out, just push it back in. When you tighten the nut from the top in the next step it will pull it back into place. This is not a flaw, it's just the way they work.

With the rod still flush on the bottom, tighten the nut on the top. It just needs to be firm, don't crank on it hard. Double check the tnut to make sure it is fully seated in the recess.
It should look like this.

This is the first tier box. You should have it covered with fabric or ribbon. Place it on the base around the little blocks of wood to aid in the alignment. This is not a tight fit because I left a little room for fabric so you have a little wiggle room.

Place the support spacer over the alignment disc. This is top keep the top of the first tier from compressing downward when you tighten it all up.

Place the top on the first tier.
Add a spacer.

Install the base of the second tier.

Install the second tier box.
Install the alignment disc you took off the rod earlier.

Add the second tier support.

Now, the top of the second tier.

From here you just add spacers and the rest of the tiers.


.JPG)
The top tier ties it all together. It screws onto the rod just like a nut, and again, if the tnut pops out, just push it back in. Before you tighten it down, stand back and observe the alignment of all the tiers. Once you are satisfied with their alignment turn the top piece clockwise to tighten it all up. It is not necessary to over tighten it. The rod should not protrude above the tnut at all, and if it is a little shy of the top of the tnut, that's fine too. As long as the stand is tight, all is well. ***Test it by grabbing one of the spacers, and picking up the stand until it's slightly off the table and supporting it's own weight.***
.JPG)
You're done!
No comments:
Post a Comment