Friday, September 27, 2013

Finally finished the new hexagon cupcake stand!


           This is another one of those stands that presents many unique challenges, especially for me!  It seems simple enough, but throw in the fact that it had to be left unfinished, every little detail was going to show.

It's easy enough to tell a potential customer what you plan on doing, but visuals can help a lot.  I have been playing around with Google SketchUp for a little while, and it sure does help with design work.  The way you can see your drawing in 3D and have the ability to rotate it at any angle keeps you from making a lot of mistakes.  Sometimes what sounds good in theory doesn't work out so well in reality.

The original drawing using Google SketchUp

The first challenge was cutting the hexagons.  Layout on the wood was fairly straightforward, just a little geometry.  Now, how to cut them?  The only thing that would cut a perfectly straight line was my table saw. Since I had to cut from the straight line where it intersects the circle, to the one next to it (6 times for each board) and on top of that cut 6 different sized tiers, I had to make an adjustable sled for the saw.  That's a whole nother story. 
Hexagon layout

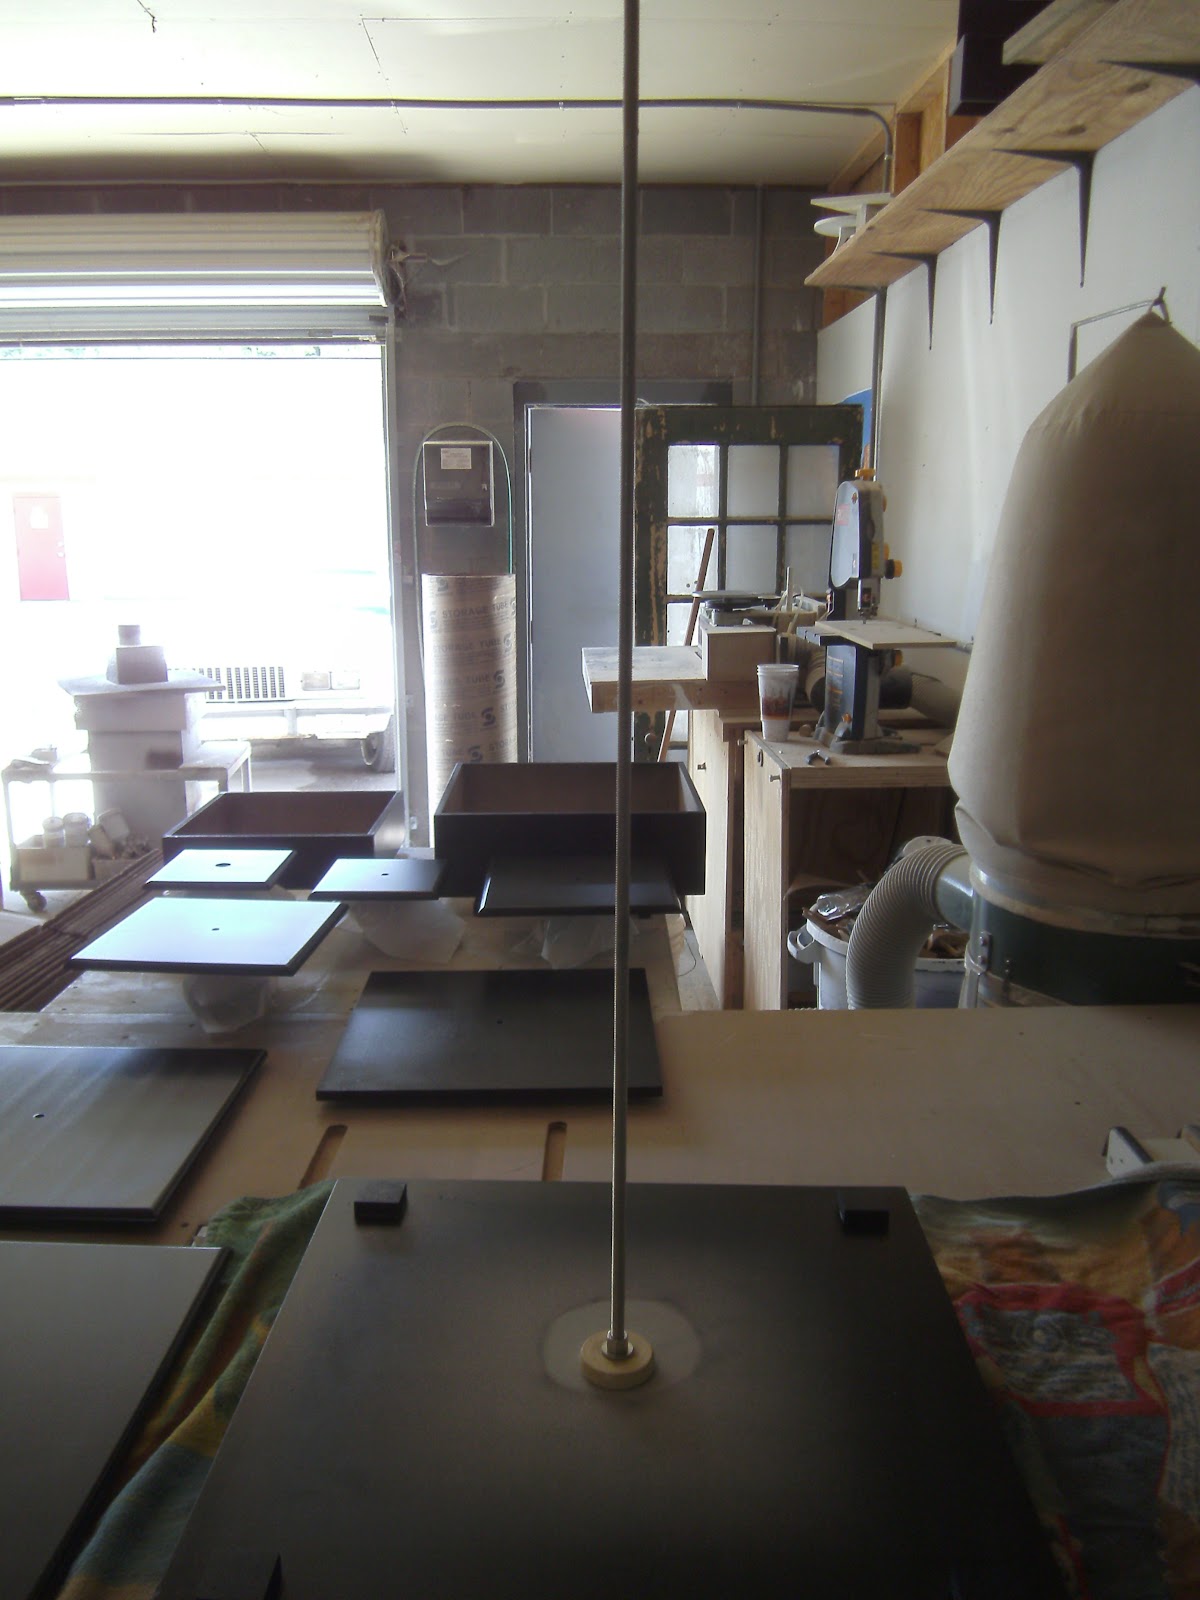
Rough stack of cut tiers without molding
           
Next part to make was the base.  It was basically 2 24" hexagons sitting on top and bottom of a 22" hexagon box.  Ever tried gluing and clamping a hexagon without using nails?


The next challenge was the molding.  My customer chose this molding.  The first thing I had to do was make sure that no matter what direction you looked at the stand from, the peaks and valleys of the molding had to match on all sides.  The second was the joints.  She was very particular about them being as invisible as possible.  I told her that since we are using two different woods, a seam was going to be visible, but I would get the joints as tight as possible.  


I had to cut, fit, cut fit, cut fit, 36 individual pieces to get the joints to look like this.  No matter how carefully I cut the hexagons, there were variations of 1/16 to 1/8" on every side.  At the bottom edge of the molding there were also slight variations where the points met.  Lots of filing and sanding to get them to meet.

Molding joints


Finally, I got to put the finish on.  We went with just a tung oil finish.  Brushed on and buffed off, twice.  It came out beautiful.  I would have loved to have taken better pictures, but I'm so afraid of handling big projects anymore than I have to.  I once dropped a piece taking it to a better locale for pictures.    This was a really nice piece and took a lot of time.


Monday, September 23, 2013

New hexagon shaped cupcake stand

This is a new design for me.  It's a 6 tier hexagon shaped cupcake stand being made out of aspen and pine.  The tiers are 24,23, 19,15,11, and 8 inches from point to point.  This particular stand has been sold, and is going to be left au naturel!  No stain, just a tung oil finish.  The pictures are just rough stacks, so if it looks crooked that's why.


Saturday, September 21, 2013

Christmas Tree Cupcake Stand


Here's the other winter/Christmas stand.  It's in the final stages of completion and is currently in primer.  This is a 13 tier cupcake stand that is supposed to resemble a Christmas tree.  The stand itself starts off with an 8 inch tier and goes all the way up to a 30 inch tier on the bottom and stands 5 feet 9 inches tall!  It has a small hole (which you can't see in the pictures) in each tier except the 8" top which I will use to string Christmas lights through.  This stand is already sold and will be used for a Christmas wedding and will hold 500+ cupcakes.

Monday, September 16, 2013

Snowflake Push Pop and Cake Pop Stands

The mystery is over!  I finally got the snowflake stand done and just listed it on Etsy.

Deb, a bride to be, approached me with a general idea of what she wanted for her winter wedding. She wanted something either round, star, or snowflake shaped. This is what I came up with and it incorporates them all! I did a ton of searching for something similar, and found there is nothing out there even close. This stand was quite a design and building challenge, but that's what I love about doing what I do.

The stand has 3 tiers that are 24, 20, and 10" from point to point in a true 6 sided snowflake pattern. The 24 inch tier holds 54 push pops, the 20 inch holds 42, and the 10 inch holds 12. The top tier can be made like the piece in the last picture also. The top tier can hold up to a 7" round cake without covering up the points. It can also be done without the holes. The bottom spacer is 3 1/2" tall so the sticks hang through without touching the base. The spacers between the 1st, 2nd, and 3rd tiers are 8" tall so the pops can be loaded and unloaded. The total height of the stand is about 22 1/2" tall, and it is finished with a gloss white paint. Even though this particular 
stand was made for push pops, it can be made to be used for cake pops as well.   You can see it in my Etsy shop here https://www.etsy.com/shop/MikesAmazingStands


Another guess what it's going to be post!

This is a part of a new stand in its beginning stages of construction.  It's 20" in diameter and 10" tall.  Start the guessing!


Friday, September 13, 2013

Winter Weddings Are Coming!

Got a couple of cool new items coming soon to the shop.  I had a 2 brides to be schedule projects with me and they are going to be neat.  One I have seen a picture of, but the bride to be couldn't find it available for purchase, the other is an original design.    Here is a sneak peek of one of the pieces in its rough form.  I have 8+ hours just in design and template making time in it.  Any guess what it's going to be?


Here's a link to a Christmas countdown timer  Days til Christmas

Sunday, August 5, 2012

How to change the T-Nut

For those of you who purchase a convertible cake pop/cupcake stand,  here are some brief instructions for flipping the tnut from one side of the top tier to the other.


This is a shot of the installed tnut.  It is fully seated in its recess and should be at least flush with the top or slightly recessed.


To remove it, screw a 1/4" bolt (I should have included one) into the tnut from the back side.  Take a solid object like a hammer or pair of pliers and tap lightly on the bolt head until it pops out. It should look like the picture below.


Hold onto the tnut with one hand and remove the bolt. 


You are now ready to install it on the opposite side.  Note the 3 small holes for the prongs on the tnut.  They are at the 2, 6, and 10 o'clock positions.  When you flip the tier plate over, you will have the same thing on the opposite side.  I have already pre-installed and removed them so they should be would be easier for you to install again.  Take the tnut and line up the prongs with their corresponding holes and try to just push it in by hand at this point.  Once it seems like its stuck in place, lay the entire piece flat on the table and tap the tnut down into the recess with a hammer.  After it is in as far as you can get it with the hammer, you'll want to put the bolt back in like you did to remove it.  Once the bolt is in, tighten it until you feel some resistance, and the tnut is fully seated.  DO NOT let the tnut spin freely because the prongs will act like a drill bit and cut right through the wood and ruin the piece.  If you have any questions or need help, stop and contact me.  I'll be more then happy to help you.


Wednesday, April 18, 2012

Amy's Stand Assembly Instructions

This is Amy's 6 tier cupcake stand.  The first and second tiers have removable boxes for covering with fabric or ribbon.

These are all the parts layed out.

Find the base piece.
***This is the most critical point in the assembly***
This is the center support rod. If there are 2 wood pieces on the rod, remove one of them for later.  To start assembling,  the rod should look just like the picture.  Don't remove the nut, washer or wood centering ring.  Screw the rod into the base.  See next picture. 
Look under the base.  The rod you just screwed in should be flush with the bottom of the tnut.  It should not protrude any more then just a tiny bit.  If it comes up short, loosen the nut from the top, or vice versa if it protrudes too much.  If you happen to push the tnut out, just push it back in.  When you tighten the nut from the top in the next step it will pull it back into place.  This is not a flaw, it's just the way they work.
With the rod still flush on the bottom, tighten the nut on the top.  It just needs to be firm, don't crank on it hard.  Double check the tnut to make sure it is fully seated in the recess.  

                                                
It should look like this.
This is the first tier box.  You should have it covered with fabric or ribbon.  Place it on the base around the little blocks of wood to aid in the alignment.  This is not a tight fit because I left a little room for fabric so you have a little wiggle room.
Place the support spacer over the alignment disc.  This is top keep the top of the first tier from compressing downward when you tighten it all up.
Place the top on the first tier.
Add a spacer.
Install the base of the second tier.
Install the second tier box.
Install the alignment disc you took off the rod earlier.
Add the second tier support.
Now, the top of the second tier.
From here you just add spacers and the rest of the tiers.
The top tier ties it all together.  It screws onto the rod just like a nut, and again, if the tnut pops out, just push it back in.  Before you tighten it down, stand back and observe the alignment of all the tiers.  Once you are satisfied with their alignment turn the top piece clockwise to tighten it all up.  It is not necessary to over tighten it.  The rod should not protrude above the tnut at all, and if it is a little shy of the top of the tnut, that's fine too.  As long as the stand is tight, all is well.  ***Test it by grabbing one of the spacers, and picking up the stand until it's slightly off the table and supporting it's own weight.***
You're done!